Tag Archives: video

X-Face for Video

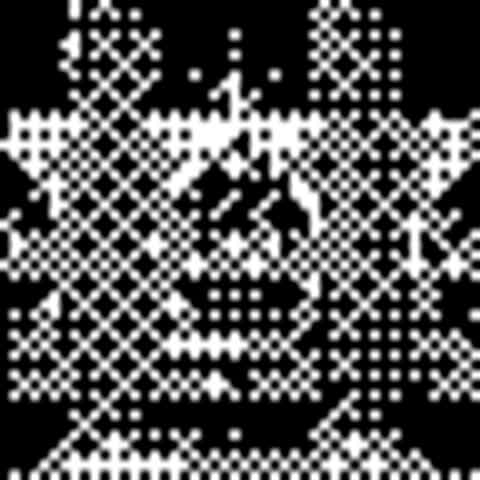
Recently ffmpeg added encoding support for X-Face. An x-face image is a square image, 48 pixels high and 48 pixels wide, and only composed of black and white values. A 2,304 pixel image can not contain much detail but the image was intended to accompany an email as a tiny visual depiction of the sender. Here’s a gallery of jpegs created from xface data to give an idea of what x-faces looked like.

I wanted to try to use the xface encoder to produce a low quality moving image. One issue was that there doesn’t seem to be an audiovisual container that supports xface encoded data, so xface in AVI or xface in QuickTime wasn’t happening. Instead I found I could simulate an xface video experience by transcoding to xface and back to a more normal video format. I used these commands:

Take a video called input.mp4 and export xface bitmap files, one per frame.
ffmpeg -i input.mp4 -c:v xface -s 48x48 xface-%05d.bmp

Export the audio from the input.mp4 file.
ffmpeg -i input.mp4 audio.wav

Reading the xfaces with the audio to make a video file (probably better ways to do this).
ffmpeg -c:v xface -f image2 -i xface-%05d.bmp -f nut - | ffmpeg -i - -i audio.wav -map 0 -map 1 -c:v rawvideo -s 48x48 -pix_fmt monow -c:v ffv1 -c:a pcm_s16le xface-48x48.mov

I then had a file that showed what xface looks like in video form, but if I increased the size of the video from 48×48 in my QuickTime player then the video would blur and deteriorate at larger sizes.

mush

Pixel art gets mushy

The xface image is a crisp 48×48 pixels but when scaled up to 480×480 for easier viewing the black and white pixels became rounded and fuzzy. Scaling raster images from one size to another can be tremendously lossy and in this example I really noticed the effect of my xface pixel art turning to mush as I increase the width and height. Finding a fix led me to ffmpeg’s documentation on scaling video. From here I could scale my images with the neighbor+full_chroma_inp option which preserves the blocky look at the small pixels while scaling it to a larger size.

ffmpeg -i xface-48x48.mov -c:v ffv1 -sws_flags neighbor+full_chroma_inp -vf scale=480:480,pad=720:480:120:0 -c:a libfaac xface.mov

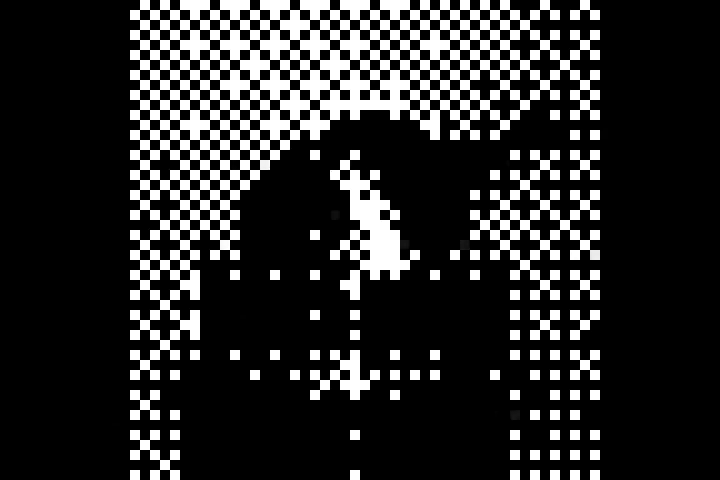
Once I figured out this process I searched for a video that would still visually represent its content even at 48×48 frame size. This was a lot harder that I would have assumed and most of the video ended up as indecipherable black and white blocks. Eventually I found a Sanka coffee commercial that seemed to work. The first 10 seconds are hard to make out but the movements of the spoon, coffee cup, and coffee pitcher are all identifiable. So if you’ve ever wondered what xface video might look like, here’s a sample.

And here’s the original from the Prelinger Collection
Display video difference with ffmpeg’s overlay filter

I was seeking a method to show the difference between two videos and found this method using some of the recent features of ffmpeg. This process could be useful to illustrate how lossy particular encoding settings are to a video source. An original digital video and a lossless encoding of it should show no difference; whereas, a high-quality lossy encoding (like an h264 encoding at 1000 kilobits per second) should show visual differences compared to the original. The less efficient the codec, the lower the bitrate, or the more mangled the transcoding process, the greater the difference will be between the pixel values of the original video and the derived encoding.

Here’s what I used:
ffmpeg -y -i fileA.mov -i fileB.mov -filter_complex '[1:v]format=yuva444p,lut=c3=128,negate[video2withAlpha],[0:v][video2withAlpha]overlay[out]' -map [out] fileA-B.mov

To break this command down into a narrative, there are two file inputs fileA.mov and fileB.mov to compare. The second input (fileB.mov) is converted to the yuva444p pixel format (YUV 4:4:4 with an alpha channel), the ‘lut’ filter (aka lookup-table filter) sets the alpha channel to 50% (the ‘128’ is half of 2^8 which is the bit depth of the pixel format), and then the video is negated (all values are inverted). In other words one video is made half-transparent, changed to its negative image, and overlaid on the other video so that all similarities would cancel out and leave only the differences. I know there are a few flaws in this process since depending on the source this may invoke a colorspace or chroma subsampling change that may cause additional loss than what exists between the two inputs (but close enough for a quick demonstration). This process also is intended to compare two files that have a matching presentation, same amount of frames, and same presentation times for all frames.

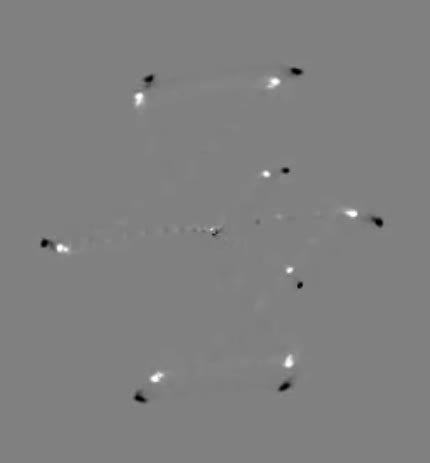
Here is an example of the output. This first one depicts the differences between an mpeg2 file (found here) and an mpeg1 derivative of it. Closer to middle gray indicates no visual loss in the encoding, but deviations from middle gray show how much was lost (unfortunately YouTube’s further encoding of the demonstration embedded here flattens the results a bit).

Here’s another version of the output, this time comparing the same mpeg2 file with a prores derivative of it. Here it is very difficult to discern any data loss since nearly the whole frame is middle gray. There is still some deviation (prores is not a lossless codec) but the loss is substantially less than with mpeg1.

Here’s another example with different material. In this case an archivist was digitizing the same tape on two different digitization stations and noticed that, although the waveforms and vectroscopes on each station shows the same levels, the results appearto be slightly different. I took digitized color bar videos from each of the two stations and processed them through yuvdiag to make videos of the waveform and vectroscope output and then used the comparison process outlined above to illustrate the differences that should have been illustrated by the original waveform monitor and vectroscope.

The results showed that although the vectroscope and waveform on each of the two digitization stations showed the same data during the original digitization that at least one of them was inaccurate. By digitizing the same color bar through both stations and analyzing the resulting video with yuvdiag we could see the discrepancy between the chroma and luma settings and calibrate appropriately.